Search this site
121 results found with an empty search
- A Quick Guide on How to Install a Standard Skimmer Plug for Winter Pool Closing
In this quick tutorial, we’ll show you the essential steps to properly install a standard skimmer plug during your pool's winter closing. By installing the plug correctly, you’ll protect your pool from potential freeze damage over the winter months. Key Takeaways: Drain your pool to the recommended level before installing the skimmer plug. Firmly press the skimmer plug into the opening to ensure it is fully sealed. Properly installing the skimmer plug can help prevent winter damage to your pool. Step-by-Step Process: Drain the pool until the water level reaches the bottom of the skimmer faceplate. From inside the pool, push the skimmer plug into the skimmer opening. Ensure the foam of the plug is fully inserted into the skimmer to create a secure fit. Resources and Explanations: Standard Skimmer Plug: This plug seals off the skimmer during winter to prevent ice damage caused by water entering the skimmer and freezing. Water Level Recommendation: Lowering the water helps avoid rain or snow pushing water into the skimmer, reducing the risk of freeze damage. FAQs: Q1: Why should I lower the water level before installing the skimmer plug? A: Lowering the water level reduces the risk of water freezing in the skimmer, which could cause cracks or damage to the pool’s structure. Q2. Can I install the plug without lowering the water level? A: It’s not recommended, as rain or snow may increase the water level, potentially causing freeze damage. Q3. How do I know if the skimmer plug is fully inserted? A: When the foam is flush with the skimmer opening and there are no visible gaps, the plug is fully inserted. You have successfully winterized your skimmer by installing the standard plug. For any further assistance, don’t hesitate to contact your local Great Escape team. We're always happy to help!
- How to Winterize a Skimmer & Return
Prepare your pool for winter with our step-by-step guide on draining and plugging a Hayward skimmer and return, featuring an Aqualuminator light return plug. This tutorial ensures your pool is protected during the off-season, preventing damage from ice and cold weather. Key Takeaways: Draining your pool below the skimmer faceplate helps protect your pool's top rails from ice damage. Properly plugging your skimmer and return ensures no water seeps in, preventing winter damage. The process includes handling both standard and Aqualuminator light returns for comprehensive winterization. Step-by-Step Process: Prepare Your Pool: After balancing and winterizing the water, drain it to the bottom lip of the skimmer faceplate. Plugging the Skimmer: Remove the weir gate and basket from the skimmer. Push the skimmer plug into the skimmer faceplate, ensuring it's securely in place. Ensure the skimmer opening is unobstructed for drainage during winter. Plugging the Return: Loosen and remove the ring and eyeball from inside the pool. Use the Hayward hydrotool to remove the inner thread, if necessary. Screw in the Hayward 1022 black cap into the return, ensuring it's tightly secured. Handling the Aqualuminator Return Light: Unplug the light and remove the back cap. Disconnect the connectors under the cap, allowing you to store the transformer and cord. Remove the lock ring and light assembly, then quickly plug the hole with a Number 9 expandable plug. Secure the plug by tightening the wing nut. Resources and Explanations: Skimmer Plug: Prevents water from entering the skimmer and freezing during winter. Seat Removal Return Tool: Assists in removing the inner thread of the eyeball assembly. Winterizing Return Plug: Seals the return light opening, preventing water loss and damage. FAQs: Q1: Why should I drain the water below the skimmer faceplate? A: It helps protect your pool's top rails from ice damage during winter. Q2: Can I use these instructions with a different skimmer type? A: The process may vary; contact The Great Escape team for guidance on other skimmer types. Q3: What if the skimmer plug doesn't fit securely? A: Ensure you're pushing around the edges and that the plug size is correct for your skimmer. Q4: How do I prevent the light assembly from falling into the pool? A: Be careful when removing the light, and have the expandable plug ready to quickly seal the opening. Q5: Is it necessary to remove the transformer and cord from the Aqualuminator light? A: Yes, removing and storing them protects the electrical components during winter. With your skimmer and return securely plugged, your pool is ready to face the winter months. The Great Escape is here to ensure your pool remains in top condition year-round. For any questions or specific concerns about your pool setup, don't hesitate to contact us—we're happy to help!
- Protecting Your Pool with the Winterizing Kit
Winter's chill is no match for dedicated pool enthusiasts who know the art of winterizing. Using the non-chlorinated Winterizing Kit can be your best bet against unwelcome algae growth, ensuring your pool wakes up from its winter slumber looking as pristine as ever. Key Takeaways: Optimal Timing: The later you close and the earlier you open your pool, the better the chances of unveiling a crystal-clear pool when spring arrives. Balance Before Closure: Achieving the right pH and alkalinity levels prior to closing ensures a smooth winterizing process. A Season Without Algae: With the right winterizing tools and techniques, you can effectively curb algae growth during the chilly months. Step-by-Step Process: Testing the Water: Using your trusty test strips, ensure your pool’s pH and alkalinity are in balance. Remember to halt chlorination 24 hours before introducing closing chemicals. Aim to achieve a chlorine level of 2-3ppm. Introducing the WATER TRENDS Winterizing Kit: Having balanced water is your cue to add in the specialized chemicals from the kit. Algae’s Nemesis: Broadcast the Winterizing Algaecide across your pool. Wait for about 15 minutes to let it do its magic. Stain & Scale Control: Distribute the Winterizing Stain & Scale control all around the pool. A 15-minute circulation should suffice post-application. Shock Treatment: Sprinkle the bag of Non-Chlorinated Shock into the pool. This will help eliminate bacteria residues. Another 15 minutes of circulation is essential. Time-Release Oxidation: Finally, introduce the winter cartridge into the pool. Following the instructions, punch out the "8" and ensure the cap side faces down. Let the filtration system work for an hour, ensuring every corner of your pool has been treated. Once done, it's time to close and cover up, bidding adieu till the next season. FAQs: Q1: Why is it essential to balance pH and alkalinity before closing? A: Achieving the right pH and alkalinity ensures that the winterizing chemicals work effectively. Q2: Can I use regular chlorine instead of the Non-Chlorinated Shock? A: It's recommended to use the Non-Chlorinated Shock as it's specifically formulated for winterizing purposes. Q3: How often do I need to use the Winter Kit? A: Once annually, during the winterizing process. Q4: Will the winter cartridge last the entire winter? A: Yes, it's designed to release non-chlorinated shock throughout the winter months. Q5: What's the significance of the "8" on the winter cartridge? A: It's a guide for proper placement in the pool, ensuring effective chemical release. Your pool has been your oasis, and it deserves the best care even during its dormant months. Dive into peace of mind with us!
- Winter Proof Your Pump & Cartridge Filter
As we trade our swimsuits for sweaters, it's time to give our pools and their gear some TLC before the frost sets in. Here's your guide to winter-proofing your pump and cartridge filter system. Key Takeaways: The Great Drain Game: Draining is a must. Water leftovers in equipment can invite unwanted cracks. Sparkling Clean: Beyond draining, the filter need a solid rinse and a good drying session. Storage Smarts: Keeping components together is like putting away your winter clothes - it makes the next season's setup a breeze. Step by Step Process: Pool Preparation: Before diving into the equipment, ensure your pool has been fully winterized, balancing chemicals and cleaning debris. Hose Disconnection: Carefully detach the hoses from key points, such as the skimmer, return, and all fittings connected to the pump and filter. Draining the Filter: Locate the drain cap at the bottom part of the tank. Open it and allow every drop of water to flow out, ensuring no remnants remain. Cartridge Tank Disassembly: To access the cartridge, you'll need to loosen the black ring positioned centrally on the tank. Cleaning the Cartridge: Rinse both the top and bottom parts of the cartridge filter meticulously using a hose. For best results and to avoid any residual moisture, position them upside-down, ensuring all water exits. Pump Detachment: Focus on the pump next. Find the two screws keeping it anchored to its base and carefully remove them. Draining the Pump: Using a reliable flat head screwdriver, seek out the drain plug found at the bottom section of the pump strainer housing. Unscrew it and also remove the lid from the pump. Carefully tilt the pump to ensure you've drained every last bit of water. Wipe and Store: With a clean, dry cloth, thoroughly wipe down every component of the pump and filter system. This ensures absolute dryness. A tip for ease next season: store smaller elements such as hose clamps and plugs inside the pump strainer housing. Storing the Equipment: Look for a location that's dry and shielded from the harsh elements of winter. Store your pump, filter system, and hoses here to ensure they remain in optimal condition for the next pool season. FAQs: Q1: Why is draining so crucial? A: Water left in can freeze and cause cracks or damage. Q2: Can I reuse the cartridge next season? A: It's best to start fresh each season for optimal performance. Q3: Where should I store my equipment? A: Opt for a dry spot away from direct elements. Q4: What happens if I skip the cleaning step? A: Dirt and residuals can reduce equipment efficiency next season. Q5: When should I start the winterizing process? A: Ideally, before the first freeze of the season. Remember, your pool equipment serves you all summer. A bit of end-of-season care ensures it'll be in top shape for many summers to come.
- How to Reduce Spa Foam with Foam Away
Tired of that annoying foam messing up your spa experience? Dive into our guide on how to effectively use Foam Away and enjoy crystal clear, foam-free spa sessions. Key Takeaways: Foam Away effectively eliminates spa foam without leaving any residue or clouding your water. Proper water balance, focusing on Alkalinity and pH levels, is essential before using Foam Away. Foam Away is compatible with all sanitizers, ensuring that its addition won't disrupt your regular spa maintenance routine. Step-by-Step Process: Begin by testing your spa water, giving special attention to Alkalinity and pH levels. Balance the Alkalinity and pH using Alkalinity Up, pH Up, or pH Down as required. With the spa pumps on high, pour in 1 oz. of Foam Away for every 500 gallons of water. Let the water circulate for 10 minutes. If foam persists, add an additional ounce. Continue to circulate on high for 20 minutes post-addition. Turn off the pumps and retest the water to ensure Alkalinity and pH levels remain balanced. Resources Mentioned: Alkalinity Up, pH Up, pH Down: These are water balancing agents essential for maintaining the correct chemical composition of your spa water. Foam Away: A unique formula designed to calm and eliminate foam resulting from high aeration in your spa. Test Strips: A quick and easy way to determine your water's chemical levels. FAQs: Q1. What causes foam in my spa? A: Foam can result from various reasons, including high aeration, residues from beauty products, or an imbalance in water chemistry. Q2. How often should I use Foam Away? A: Use Foam Away whenever you notice excessive foam in your spa. However, regularly maintaining water balance will reduce the need for frequent applications. Q3. Can Foam Away harm my spa's filtration system? A: No, when used as directed, Foam Away is safe and compatible with all filtration systems and sanitizers. Q4. Is Foam Away safe for all spa types? A: Yes, Foam Away is designed to work effectively in all types of spas without causing damage or leaving residues. Q5. What should I do if I overdose on Foam Away? A: If you suspect you've added too much Foam Away, run the pumps for a prolonged period to circulate the water. If issues persist, contact your local Great Escape team for advice. At The Great Escape, we prioritize your spa experience. Remember, our team is just a call away, always ready to guide you towards serene, hassle-free spa moments.
- Deep Clean Your Hot Tub with Spa Flush
Every spa owner dreams of crystal-clear water and optimal functioning, but behind the scenes, unseen contaminants can accumulate over time. These pesky intruders can compromise not just the clarity of your water, but also the efficiency of your sanitizer. Enter Spa Flush – a game-changer in the world of spa maintenance. Key Takeaways: Spa Flush penetrates deep into your hot tub's system, targeting hidden accumulations that can impact sanitizer efficiency. Whether you own a brand-new model or a cherished older tub, Spa Flush's safe and concentrated formula is designed for every kind of hot tub. A few easy steps can lead to a rejuvenated spa experience, ensuring the longevity of your cherished relaxation haven. Step-by-Step Process: Ensure your spa's temperature is above 90°F and remove the filter. Pour the entire content of Spa Flush (16 fluid ounces) directly into the heated water, enough to treat up to 750 gallons. With the jets off initially, turn on the jet motor to its highest setting. For newer spas, run for 5 minutes. If your spa is older and hasn’t seen a treatment in a while, aim for 10 minutes. Let your spa operate normally for a duration ranging between 8 to 48 hours. Please avoid using the spa during this period. Just before you plan to drain your spa, activate the jets one more time. Empty your spa and make sure to clean its surfaces. Don’t forget the filter! Using a trusted product like WATER TRENDS Filter Wash ensures optimal results. Once your spa is sparkling clean, refill it and return to your regular operations. Resources Mentioned: WATER TRENDS Spa Flush: The ultimate solution for deeply rooted spa contaminants, ensuring a fresh and revitalized hot tub experience. WATER TRENDS Filter Wash: An excellent companion to Spa Flush, ensuring your filters are as fresh and efficient as the rest of your tub. FAQs: Q1: Can I use my spa immediately after applying Spa Flush? A: No, it's advised to avoid using your spa during the treatment process. Q2: How often should I use Spa Flush? A: For optimal results, it's recommended to use Spa Flush periodically, especially when water clarity and quality start to decline. Q3: Is Spa Flush safe for all types of hot tubs? A: Yes, Spa Flush is designed to be compatible with all hot tubs, irrespective of age or brand. Q4: Can I mix Spa Flush with other cleaning agents? A: Always read the instructions and avoid mixing different products in the same container. Q5: Will Spa Flush impact my hot tub’s pH levels? A: Spa Flush is designed to eliminate contaminants. Always test and adjust pH levels as necessary after the cleaning process. At The Great Escape, we believe the heart of a perfect spa experience is crystal-clear water that runs without a hitch. Every splash you enjoy should be in water that's pure and healthy. If you have any questions, reach out to your local Great Escape team. We're always happy to help!
- Crystal Clear Confidence with Scum Destroyer
There's nothing quite as disappointing as eagerly stepping into your spa, only to find the waterline marred by an unsightly scum ring. Fear not! With the Scum Destroyer, those dreaded residues that detract from your spa's beauty are a thing of the past. This biodegradable and non-toxic formula is tailored to target and dismantle all those bothersome oils and residues. Let’s dive into the world of pristine spa water! Key Takeaways: Scum Destroyer's unique formula efficiently tackles suntan oils, lotions, and body oils, ensuring your spa remains free from scum lines. This 100% biodegradable solution is non-toxic, ensuring safety for both you and Mother Nature. Plus, it’s compatible with all spa chemicals and filtration systems. Unlike some other treatments, there’s no waiting time. Dive right back into your spa post-treatment with Scum Destroyer. Step-by-Step Process: First, test your spa water. Ensure the total chlorine is between 2-4 ppm, alkalinity ranges from 80-120 ppm, and pH is between 7.2 and 7.8. Turn on those spa pumps to get the circulation flowing. For general treatment, add 1 oz (or 2 tablespoons) of Scum Destroyer for every 500 gallons of spa water. Allow circulation for 20 minutes. If scum persists, repeat this dosage every two days. Remember, the enzyme action is deliberate, ensuring thorough cleaning over several days. For regular maintenance, just add the same amount (1 oz or 2 tablespoons per 500 gallons) weekly. Resources Mentioned: Test Strips: These are fundamental for assessing water quality. Ensuring these levels are balanced can impact the effectiveness of Scum Destroyer. Scum Destroyer Dosage Chart: This provides guidelines on the amount of product to use relative to your spa’s volume. FAQs: Q1: How often should I use Scum Destroyer? A: For regular maintenance, use Scum Destroyer weekly. If you're actively treating scum, dose every two days until the water is clear. Q2: How long after treatment can I use my spa? A: Immediately! One of the advantages of Scum Destroyer is there’s no downtime post-treatment. Q3: Will Scum Destroyer interfere with my other spa chemicals? A: No, Scum Destroyer is compatible with all spa chemicals and filtration systems. Q4: Why is it taking several days for the scum to disappear? A: Scum Destroyer uses enzymes which work methodically, ensuring thorough removal of oils. Patience guarantees pristine results! Q5: Is Scum Destroyer safe for the environment? A: Absolutely! It's 100% biodegradable and non-toxic. A spa should always be a place of relaxation, not a source of stress due to water quality issues. Remember, with products like Scum Destroyer and the ever-supportive Great Escape team by your side, you're never alone in your quest for the perfect spa experience. Dive into clarity today!
- Revitalize Your Spa: The Magic of Natural Enzyme Solutions
Dive into a more organic, efficient, and sustainable spa care experience with Spa Revitalize. Harnessing the power of concentrated natural enzymes, Spa Revitalize promises not just cleanliness but also reduced maintenance hassles. Key Takeaways: Spa Revitalize is a concentrated enzyme solution crafted to make spa maintenance more effective and efficient. The unique formula helps in cleaner filters, eradication of waterline rings, and extended pH level stability. Safe for immediate use after application without the need for post-treatment waiting. Step-by-Step Process: Shake the Spa Revitalize bottle well before every use. On your first application, use 1 ounce of Spa Revitalize for every 100 gallons of water. Each week, add between 1-2 ounces for every 500 gallons of spa water. Always pour the formula directly into the water while the pump is set at the lowest circulation setting. Refrain from super chlorinating or shocking the water for the next 24 hours. FAQs: Q1: Can I use Spa Revitalize with other spa maintenance products? A: Yes, but ensure you never mix different products in the same container and follow guidelines about not super chlorinating or shocking the water for 24 hours post-application. Q2: How soon can I use the spa after adding Spa Revitalize? A. You can enjoy your spa immediately after applying Spa Revitalize. Q3: Do I need to shake the product every time before use? A: Yes, always shake Spa Revitalize thoroughly before use for best results. Q4: How often should I use Spa Revitalize? A: After the initial dosage, it's recommended to use 1-2 ounces for every 500 gallons of water weekly. Q5: Does Spa Revitalize have any side effects on the skin or health? A: Spa Revitalize is a safe and natural formula. However, always follow the recommended usage guidelines. At The Great Escape, we are committed to ensuring your spa experiences are nothing short of luxurious. With products like Spa Revitalize, we aim to simplify your spa maintenance while providing top-notch quality. Your satisfaction and spa's health are our top priorities. Dive in, relax, and let us take care of the details!
- Elevate Your Hot Tub Experience with 5-in-1 Clarifier
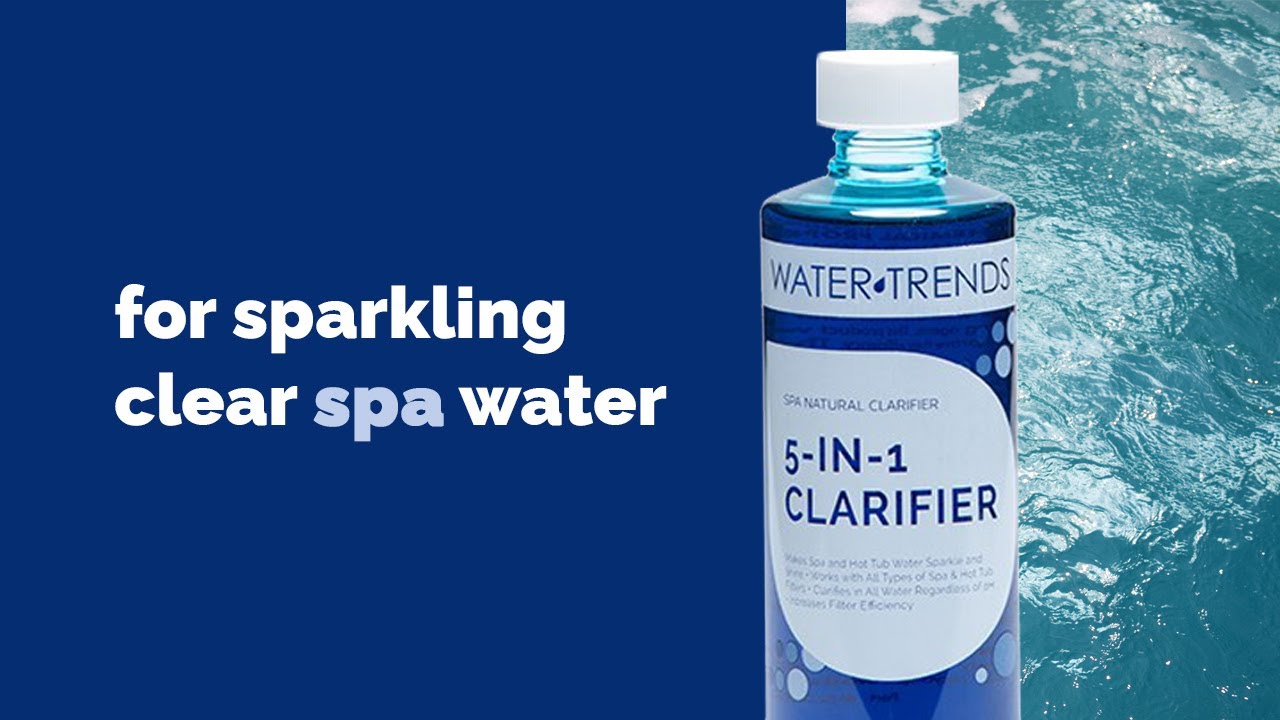
Dive into a luxurious, crystal-clear hot tub experience with our 5-in-1 Clarifier! This magic potion not only revitalizes your spa's water but also maximizes the efficiency of your filter. Wave goodbye to cloudy, murky waters and dive into a sparkling oasis! Key Takeaways: The 5-in-1 Clarifier amplifies your spa's filter efficiency, ensuring optimal water clarity. Effective in all types of water, irrespective of the pH level, offering you a hassle-free spa experience. Before using, always ensure that the water's alkalinity and pH levels are balanced. Step-by-Step Process: Test your spa water. Aim for alkalinity between 80-120 ppm and a pH range of 7.2 to 7.8. If adjustments are needed, use chemical adjusters and wait for 24 hours before using the clarifier. Turn on the spa pumps to a high setting to get the water moving. Based on the spa's volume, add the 5-in-1 Clarifier. Typically, it's 1 oz. for every 400 gallons. Always refer to the bottle's usage chart to be precise. Let the water circulate for a minimum of 30 minutes post-addition. For best results, keep the filter running for another 2 hours. To avoid unintended chemical reactions, refrain from mixing the clarifier with other chemicals. If you need to add other chemicals, wait for 24 hours. Resources: 5-in-1 Clarifier: A versatile agent designed to enhance the clarity of hot tub water, while also boosting filter efficiency. Chemical Adjusters: Used to balance the alkalinity and pH levels of spa water before adding the clarifier. FAQs: Q1: How often should I use the 5-in-1 Clarifier? A: Use it whenever you notice your spa's water is cloudy or lacks its usual sparkle. Q2: Can I mix the 5-in-1 Clarifier with other chemicals? A: No, always add the clarifier directly to the water and wait 24 hours before adding other chemicals. Q3: What if my water's pH or alkalinity isn't in the desired range? A: Use chemical adjusters to balance them out and wait 24 hours before using the clarifier. Q4: How long should I run the filter after adding the clarifier? A: For best results, let it run for an additional 2 hours post-treatment. Q5: Is it safe for all hot tub types? A: Yes, the 5-in-1 Clarifier works effectively in all water, regardless of pH levels. We're committed to making your hot tub experience as luxurious and hassle-free as possible. Don't hesitate to reach out to your local Great Escape team with any questions. We're always happy to help!
- Phos Cure Open/Close: Algae's Enemy for Season-Long Pool Perfection
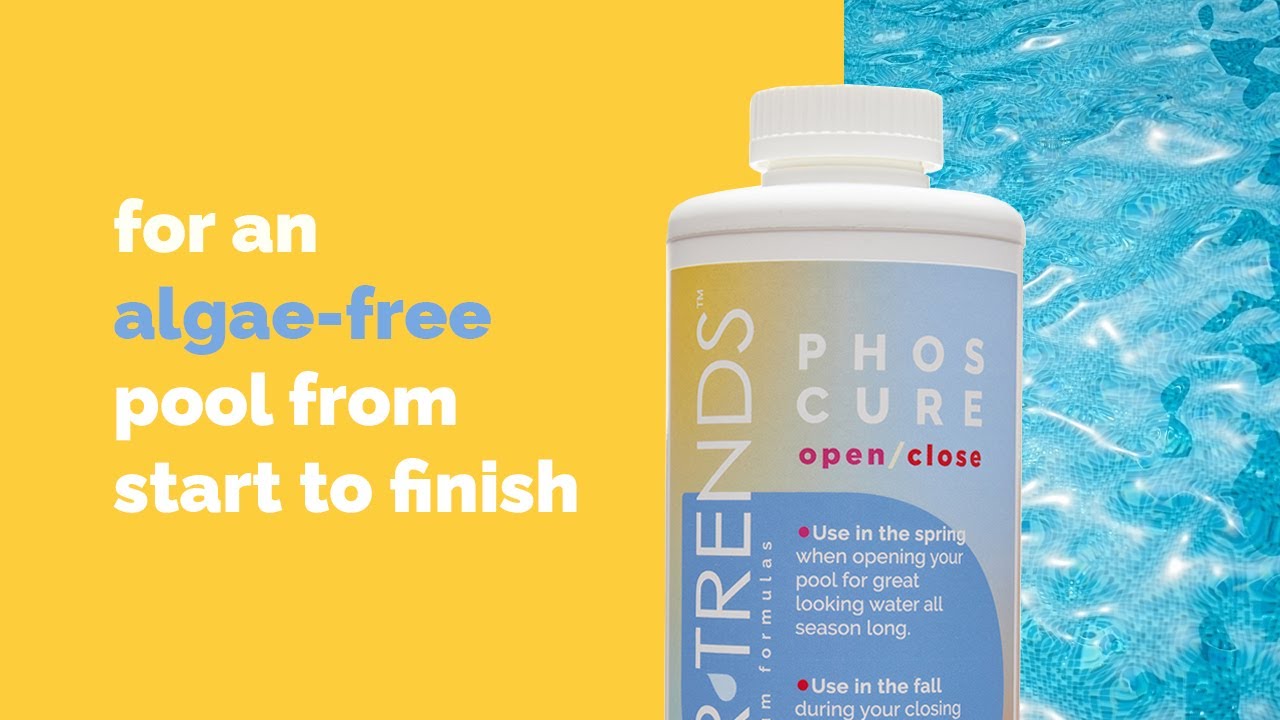
WATER TRENDS's Phos Cure Open/Close has a natural formula that is the key to breaking down non-living organics and starving algae of its favorite snack—phosphates. Enzymes are allies from the moment you open your pool to the day you close it, ensuring clear, beautiful water all season long. Key Takeaways: Phos Cure Open/Close targets phosphates, the primary food source for algae, preventing unwanted blooms. It's an all-natural solution that works seamlessly with WATER TRENDS sanitizers for opening and closing your pool. Enjoy immediate use of your pool post-application with no downtime. Step-by-Step Process: Allow fresh water to circulate completely after refilling during the opening. Balance your water with the help of WATER TRENDS Opening Kit. A week after opening, shake the Phos Cure bottle well and apply a quart for up to 20,000 gallons of water. For closing, add Phos Cure to maintain water clarity during the off-season. Resources and Explanations: Phos Cure Open/Close: A phosphate-neutralizing agent that ensures a clear pool by hindering algae growth. WATER TRENDS Opening Kit: The perfect complement to Phos Cure for addressing various water issues at the start of the season. FAQs: Q1: Why is phosphate control important in pool maintenance? A: Phosphates feed algae, so controlling them helps prevent algae growth. Q2: How much Phos Cure should I use for my pool? A: One quart treats up to 20,000 gallons, but always refer to the instructions for your pool's specific volume. Q3: Can I swim right after adding Phos Cure? A: Absolutely! There's no waiting time required after application. Q4: Should Phos Cure be used as part of the regular maintenance routine? A: It's ideal for use during pool opening and closing but consult with The Great Escape for ongoing maintenance advice. Q5: What other non-living organics does Phos Cure break down? A: It helps eliminate oils, lotions, and other substances that can affect water quality. With Phos Cure Open/Close, take control of your pool's health and enjoy uninterrupted clarity. The Great Escape is dedicated to your pool's pristine condition from season start to finish. For expert advice or assistance with our all-natural formulas, reach out to our friendly team—we're always happy to help!
- Ultimate Guide to Pool Opening: Ensuring a Smooth Start with The Great Escape
Starting up your pool for the first time is an exciting moment. This comprehensive guide will walk you through the essential steps to ensure your pump and cartridge filter are functioning properly, and how to balance your pool water for a crystal-clear swimming experience. Learn how to correctly set up your pump and cartridge filter to ensure optimal performance. Understand the steps to balance your pool water using the WATER TRENDS start-up kit. Discover how to use Nature 2 sanitizer and other chemicals to keep your pool water safe and clean. Step-by-Step Process: Have a certified electrician connect your pump motor to ensure all electrical components are operational. Check that the pool is filled to at least the middle of the skimmer. Open any installed valves to allow water flow through the filtration system. Turn on the pump and check for water movement through the clear lid. Prime the pump by releasing air from the system using the valve on the cartridge filter. Use a Quick 5 test strip to check alkalinity and pH levels. Adjust alkalinity with Alkalinity Up or pH Down as needed, following bottle instructions. Balance pH levels using pH Up or pH Down, allowing chemicals to circulate before re-testing. Install the Nature 2 sanitizer into the ProVision system as per instructions. Shock the pool with WATER TRENDS shock, diluting it in a bucket before adding to the pool. Run the pump and filter system continuously for 4 days. Re-test the water, focusing on maintaining a 1-2 ppm chlorine level using the V-Pack sleeve. After 4 days, adjust the free chlorine residual to 0.4-0.6 ppm. Add stabilizer to prolong chlorine effectiveness, placing it in a sock secured to your pool ladder. Resources & Explanations: WATER TRENDS Start-up Kit: Includes all necessary chemicals for balancing and maintaining your pool water. Nature 2 Sanitizer: Uses minerals for low chlorine sanitation. Quick 5 Test Strips: Essential for testing alkalinity and pH levels. FAQs: Q1: Why is it important to have a certified electrician connect the pump motor? A: Ensuring proper electrical connections prevents malfunctions and promotes safety. Q2: How often should I test my pool water? A: Test your water weekly to maintain balanced chemical levels. Q3: Can I use regular household chemicals instead of pool-specific products? A: No, always use pool-specific chemicals to avoid damaging your pool and equipment. Q4: What should I do if my pH or alkalinity levels are extremely high? A: Contact your local Great Escape for tailored solutions. Q5: How can I maintain my pool's chlorine levels effectively? A: Use stabilizers and regularly test the water, adjusting as needed with the V-Pack sleeve and Nature 2 system. Starting up your pool correctly ensures a season of clean, clear water and endless fun. If you have any questions, feel free to bring a water sample to The Great Escape for a complimentary test and consultation. We're here to help you enjoy your new pool to the fullest!
- The Perfect Pool Level: Why Water Height Matters
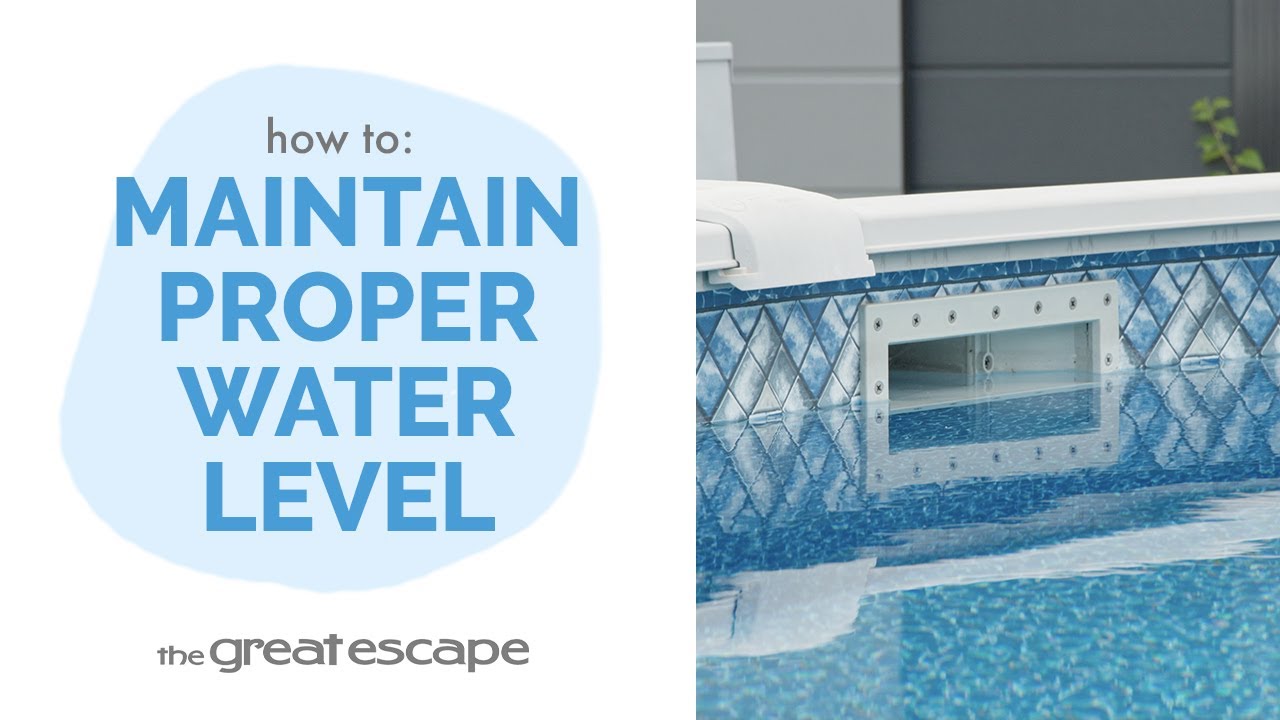
Not sure how much to fill your pool? We'll explain exactly where your water level should be to keep your system running efficiently and your pool water crystal clear. Key Takeaways: Maintaining the correct water level is critical to pool performance. Low water can cause air to enter the filtration system. High water can stop the skimmer from catching debris properly. Step-by-Step Process: Check the water level while filling or topping off your pool. Ensure the water is halfway up the skimmer opening. Monitor regularly, especially during hot or rainy weather. Resources and Explanations: Skimmer opening: This is the notch or panel along the pool wall that pulls water into the filtration system. Filtration system performance: Both high and low water can cause performance issues. Debris management: Skimmers work best when water is at the right level. Pro tip: Recheck after large swim parties, storms, or water additions. FAQs: Q1: What happens if my pool water level is too low? A: It can pull air into the pump, which may reduce filtration efficiency or damage the system. Q2: What if my pool water is too high? A: The skimmer may not be able to catch floating debris properly, affecting water clarity. Q3: How often should I check my pool water level? A: Weekly during the season, or after heavy rainfall, backwashing, or heavy pool use. At The Great Escape, we’re here to help you enjoy your pool all season long. If you have any questions, just reach out—we’re always happy to help!