Search this site
121 results found with an empty search
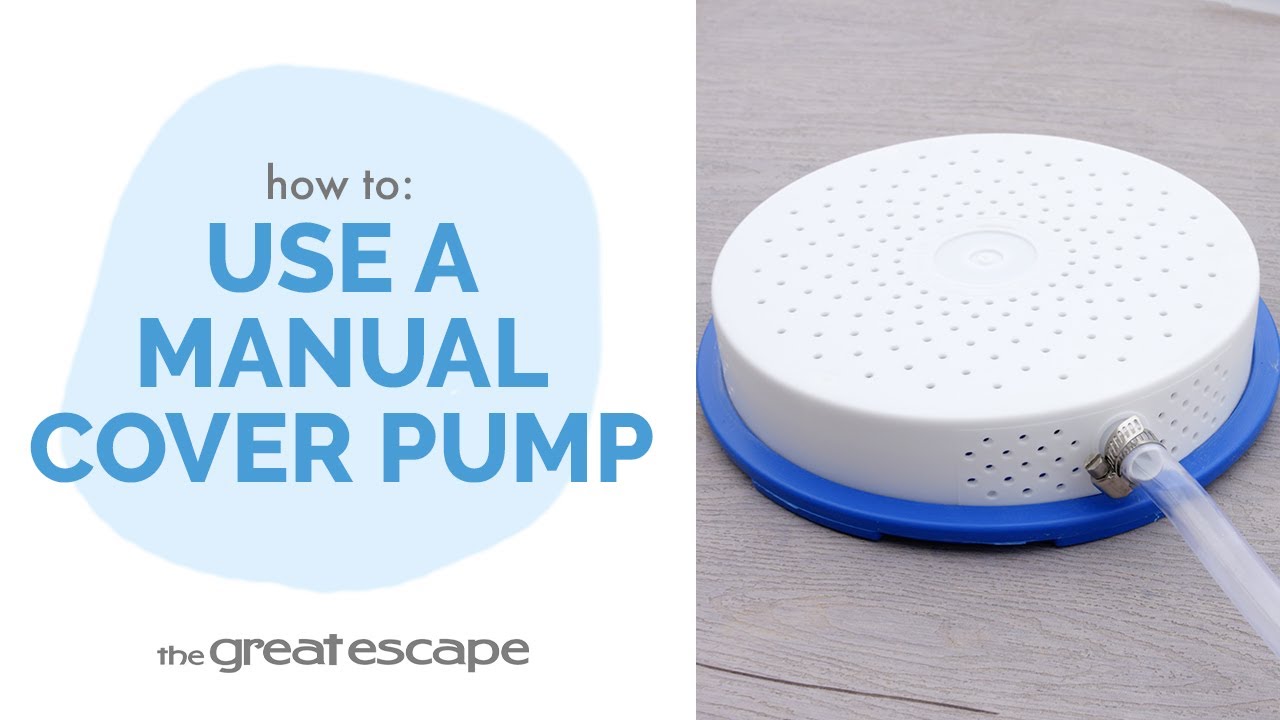
- No Power? No Problem: Drain a Winter Pool Cover Using a Manual Pump
Need to remove standing water from your winter pool cover without electricity? In this easy tutorial, we’ll show you how to use the WATER TRENDS Cover Saver manual pump to efficiently siphon off excess water—protecting your pool and cover from damage. Key Takeaways: Manual siphon pumps are ideal for no-power setups. Proper positioning ensures effective water flow. - You can redirect drainage using a garden hose adapter. Step-by-Step Process: Attach the clear hose to the Cover Saver base (use hot water to soften the ends). Secure with the included hose clamp using a flat head screwdriver. Place the Cover Saver in the center of the pool cover using a telescopic pole. Hang the clear hose over the pool edge and connect the manual pump to the other end. Squeeze the pump until water begins to flow. For extended drainage, use the garden hose adapter to direct water farther away from the pool. Resources and Explanations: WATER TRENDS Cover Saver Pump – A manual siphon system for removing water without electricity. Clear Drain Hose & Clamp – Connects the pump to the base and controls flow. Telescopic Pole – Helps position the pump accurately at the pool’s center. Garden Hose Adapter – Allows extended reach for directing water away from the pool area. FAQs: Q1: Why won’t my siphon pump start draining? A: Make sure the pump is placed lower than the base and the hose is fully primed. Q2: Can I use this system multiple times over the winter? A: Absolutely—it’s reusable and ideal after heavy rain or melting snow. Q3: Do I need to remove the cover to drain water? A: Not at all—the Cover Saver works directly on top of your winter pool cover. At The Great Escape, we’re here to help you protect your pool investment all year long. For more tips and tutorials, be sure to explore our full video library or visit your local store. We’re always happy to help!
- How to Drain Water Off a Winter Pool Cover Using an Electric Pump
Standing water on your pool cover can lead to damage, debris buildup, and added work come spring. In this quick tutorial, we’ll show you how to safely and efficiently drain water off your winter pool cover using an electric pump. Key Takeaways: Draining your pool cover helps protect it from damage and prolongs its life. An electric pump does the work for you—just plug and go. Monitoring progress ensures safe, efficient drainage. Step-by-Step Process: Attach your garden hose to the electric pump by turning it clockwise. Place the pump directly on top of the pool cover. Plug the pump in to begin water removal automatically. Monitor the water level every hour to track progress. Unplug the pump when the cover is free of standing water. Resources and Explanations: Electric Pump: Automatically removes water without manual siphoning or bailing. Garden Hose Connection: Directs water away from the pool area. Winter Pool Cover: Protects your pool from debris and algae during the off-season. Routine Monitoring: Ensures water doesn’t build up again or overflow the hose drainage path. FAQs: Q1: How often should I drain water off my winter cover? A: After heavy rain or snowfall, and periodically during the winter season. Q2: Do I need to remove the entire cover to use the pump? A: No, the pump sits directly on top of the cover. Q3: Can I leave the pump on overnight? A: It’s best to monitor and unplug once the cover is mostly clear to avoid running the pump dry. At The Great Escape, we’re here to make pool ownership easier every season. For more tips and trusted products to protect your pool, check out our full line of how-to videos or visit us in-store—our team is always happy to help!
- Revitalizing Your Spa Filter with Filter Wash Spray
Use Filter Wash Spray to breathe new life into your cartridge filter. This guide will take you through the process step-by-step, ensuring that you can keep your spa's water crystal clear and oh-so-inviting. Key Takeaways: 1. Frequency Matters: Using Filter Wash Spray every few weeks or when you change your spa water can significantly prolong the life of your cartridge and keep your spa's water quality at its best. 2. Bather Load: The more frequently your spa is used, the more attention your filter will need. More bathers = more frequent cleaning. 3. Flow Rate Is Your Guide: A noticeable decrease in your spa's water flow rate is usually an indication that your cartridge filter needs some TLC. Step-by-Step Process: 1. Check the Filter: If the water flow rate drops or if you just know it's time, turn off your spa and carefully remove the filter element from its casing. 2. Initial Rinse: Rinse off loose dirt and material from the filter using a garden hose. 3. Spray It Down: Generously spray Filter Wash over the entire surface area of the filter element. Make sure you saturate it completely. 4. Let It Sit: For optimal results, allow the spray to sit for 5-10 minutes. 5. Final Rinse: Thoroughly rinse the filter with a garden hose. For particularly soiled filters, a second application may be necessary. 6. Reinstall: After ensuring that all cleaner is removed, replace the filter cartridge and turn on your spa. FAQs: Q1: How often should I use Filter Wash Spray? A: Every few weeks or whenever you change your spa water. Q2: Can I use this spray on any cartridge filter? A: Yes, it's designed to work on any reusable cartridge filter. Q3: How long should I let the spray sit on the filter? A: For optimal results, allow it to sit for 5-10 minutes. Q4: What should I do if the filter is still dirty after one application? A: Heavily soiled filters may require a second round of application. Q5: Is Filter Wash compatible with other spa chemicals? A: Yes, it's designed to work effectively without reacting with other typical spa treatment chemicals. Thank you for trusting The Great Escape with your spa maintenance needs. We are committed to making your spa experience as enjoyable and hassle-free as possible. Until next time, happy soaking!
- Revitalize Your Pool with Cartridge Clean & Renew
Rejuvenate your pool's filter system with our step-by-step guide on using Cartridge Clean & Renew. This powerful cleaner is your go-to solution for removing impurities and ensuring your filter functions flawlessly. Key Takeaways: - Effective Cleaning: Cartridge Clean & Renew expertly removes scale, minerals, and other debris from your filter. - Efficiency Boost: Regular use helps maintain your filter's optimal flow rate. - Easy to Use: Simple soaking process that ensures thorough cleaning. Step-by-Step Process: 1. Identify when your filter needs cleaning (decreased flow rate). 2. Turn off the filter and remove the D.E. or cartridge filter element. 3. Rinse off loose debris. 4. Prepare a cleaning solution with Cartridge Clean & Renew (4 oz. per gallon of water). 5. Soak the filter element for at least 2 hours. 6. Rinse the cartridge thoroughly after soaking. 7. Reinsert the cartridge and restart your filter. FAQs: Q1: How often should I use Cartridge Clean & Renew? A: Regular cleaning depends on usage but observing the filter’s flow rate can be a good indicator. Q2: Can it be used on all types of filters? A: It’s ideal for D.E. and cartridge filter elements. Q3: Is a second application necessary? A: For heavily soiled filters, a second soak might be required. Q4: How long should I soak the filter? A: At least 2 hours for effective cleaning. Q5: Can Cartridge Clean & Renew affect my pool's chemical balance? A: No, it is designed to clean filters without altering pool chemistry. Remember, our team is always here to assist and ensure your pool remains a sparkling oasis. For further guidance and products, don't hesitate to reach out to us.
- Top It Off: Opening Your Hayward Voyager Like a Pro
Need to access the inside of your Hayward Voyager cartridge filter for cleaning or repairs? In this video, we’ll walk you through the quick and simple process of removing the filter tank’s top, so you can perform maintenance with ease. Key Takeaways: Properly stopping water flow is the first and most important step to prevent spills. Releasing pressure from the tank makes lid removal much safer. Loosening the locking ring before draining helps the top come off smoothly. Step-by-Step Process: Stop water flow by turning shut-off valves, or insert Hayward black plugs into skimmer and return lines if valves aren’t available. Open the air relief valve on the tank to release internal pressure. Loosen the black locking ring at the center of the tank by holding the locking tabs and turning it counterclockwise. Unscrew the drain plug at the bottom of the tank and allow all water to drain completely. Once drained, turn the locking ring fully counterclockwise until the lid comes free. Resources and Explanations: Hayward black plugs – Temporarily block water from entering the system when shut-off valves aren’t present. Air relief valve – Releases built-up pressure inside the tank for safe maintenance. • Locking ring – Keeps the filter lid securely in place; loosening early makes removal easier. Drain plug – Allows complete water removal from the tank before opening. FAQs: Q1: Why do I need to release pressure before removing the top? A: Releasing pressure prevents sudden bursts of air or water that could cause injury or damage. Q2: Can I remove the top without draining the tank? A: It’s not recommended—removing the top while the tank is full can cause spills and make the lid harder to remove. Q3: How often should I remove the top of my Hayward Voyager filter? A: Usually during cartridge cleaning or replacement, which is often every 4–6 weeks during peak pool season. The Great Escape is here to help you keep your pool running smoothly season after season. From quick fixes to full tutorials, we’re your trusted source for expert pool care guidance.
- Introducing Brom Tabs for a Clearer Spa
Ready to transform your spa sessions? Just like your favorite spa playlist sets the ambiance, Brom Tabs ensure that the water quality complements every soothing note. Let's dive deep into the art of using Brom Tabs for that picture-perfect spa experience. Key Takeaways: Whether it's a sizzling summer afternoon or a chilly winter evening, Brom Tabs offer a consistent performance, adapting to varying water temperatures, bather loads, and even unexpected weather shifts. For Brom Tabs to work their best, it’s imperative to have a pH level maintained between 7.2 and 7.8. Remember, clarity thrives in balance; never let the pH fall below 7.0. A touch of these tablets goes a long way. With just 3 tablets, you can cater to 300 gallons of water, making Brom Tabs a gentle yet powerful addition to your spa routine. Step-by-Step Guide: Begin by testing your spa water using reliable test strips. This ensures your water is ready and safe for the Brom Tabs magic. For an average hot tub, introduce 3 Brom Tabs for every 300 gallons of water. Use a float tablet feeder or an automatic brominator linked to your spa equipment for even distribution. Tweak the feeder or brominator settings to maintain an active bromine residual. Aim for a level between 2-6 parts per million. Post 20 minutes of water circulation, use test strips to verify the bromine level in your spa water. FAQs: Q1: Why use Brom Tabs? A: Brom Tabs are effective bactericides and disinfectants, ensuring your spa water remains clear and inviting. Q2: How often should I test my spa water? A: Always test before introducing any chemical levelers, like Brom Tabs, to get accurate readings. Q3: Can I use Brom Tabs with other chemicals? A: Ensure you've tested your water and balanced the pH levels before introducing Brom Tabs. Q4: How many Brom Tabs do I need for a larger spa? A: The general guideline is 3 tablets per 300 gallons. Adjust accordingly based on your spa's size. Q5: What if my bromine levels fall outside the 2-6 ppm range? A: Adjust your feeder or brominator settings and recheck after some time. Your moments of relaxation deserve nothing but the best. As you embrace the Brom Tabs experience, know that the Great Escape team is here to guide and assist.
- Elevate Your Spa Experience with Spa Aromatherapy
Why settle for just a spa when you can have an aromatic retreat? Pairing maintenance with aromatherapy, we present a solution that doesn't just keep your spa clean but also envelops you in aromatic bliss. Key Takeaways: Spa Aromatherapy ensures your spa water remains balanced and clear while also releasing soothing scents for an enhanced relaxation experience. Using the product post-spa can aid your sanitizer's efficiency, ensuring that the water stays pristine for longer. With a straightforward sprinkle system, applying Spa Aromatherapy is both quick and hassle-free. Step-by-Step Process: Begin by balancing your spa’s alkalinity and pH levels. Make sure your spa pumps are up and running on high. For the main treatment, directly sprinkle 1 and a half ounces of the Spa Aromatherapy powder for every 250 gallons of water in your spa. For regular maintenance, after each spa use, add just one tablespoon per 250 gallons. Let the pump run for about 20 minutes to ensure even circulation. Regularly check the water quality with test strips and make any necessary adjustments to maintain optimal water conditions. FAQs: Q1: How often can I use Spa Aromatherapy? A: You can use it after each spa session for maintenance and to support your sanitizer. Q2: Can I mix Spa Aromatherapy with other spa chemicals? A: No, always apply spa chemicals separately and never combine products. Q3: How long after adding Spa Aromatherapy can I use my spa? A: Immediately! Once you've sprinkled in the powder and let the pump run, you're good to go. Q4: Will the aromas impact the effectiveness of my sanitizer? A: No, Spa Aromatherapy is designed to complement and support your sanitizer, not hinder it. Q5: Are the aromas strong and overpowering? A: Not at all! The aromas are soothing and designed to enhance your relaxation experience. Should you ever have questions or need a helping hand, the Great Escape team is just a call away. Dive into tranquility today!
- Enjoy Sparkling Spa Waters with Spa Shock
While spa time is a rejuvenating experience, maintaining that perfect water balance is key. Spa Shock is your secret weapon - a fast-acting, non-chlorinating agent, designed especially for high-temperature environments. Key Takeaways: Spa Shock is friendly with most spa water chemicals, whether you’re using bromine or chlorine disinfection systems. Soluble in nature, it’s a quick fix for eliminating chloramine odors and dissolving organic contaminants. Keep that pH balanced! Spa Shock won’t mess with it or hike up chlorine levels. Step-by-Step Process: Before diving in with Spa Shock, ensure the alkalinity is within 80-120 ppm and the pH stays between 7.2 to 7.8. With the spa pumps on high, mix in 1¾ ounces of Spa Shock for every 500 gallons of water. Let it circulate for about 30 minutes and then, test your waters. After a typical hot tub session, with the spa pumps still turned up, sprinkle ¾ ounce per 500 gallons. Keep the circulation going for another 30 minutes. FAQ: Q1: What is Spa Shock's primary function? A: It's an oxidizing agent that purifies hot tub water by eliminating contaminants. Q2: Can I use Spa Shock with chlorine or bromine? A: Absolutely! It’s compatible with both bromine and chlorine disinfection systems. Q3: How often should I use Spa Shock? A: It's ideal for both startup and after regular hot tub sessions for maintaining water quality. Q4: Why shouldn’t I pre-mix chemicals with Spa Shock? A: Mixing chemicals can lead to unwanted reactions, affecting the water balance and safety. Q5: How does Spa Shock help in maintaining pH levels? A: It's formulated without chlorine, ensuring pH levels remain unaffected during its application. Dive into a contaminant-free oasis with Spa Shock. Remember, the Great Escape team is dedicated to making your spa maintenance a breeze. Feel free to reach out anytime. Shine on!
- Sani-Chlor: The Gold Standard in Spa Sanitation
Welcome to your comprehensive guide on Sani-Chlor, your key to achieving and maintaining a pristine spa environment. Sani-Chlor ensures that your spa is not just inviting but also hygienic. Let's delve into the specifics of this must-have spa product. Key Takeaways: Effective sanitization is crucial for your spa's hygiene, and Sani-Chlor delivers precisely that. Aim to maintain a chlorine level of 1-3 ppm (parts per million) for optimal sanitization and comfort. Using Sani-Chlor is simple and straightforward, making it a convenient part of your routine spa maintenance. Step-By-Step Process: Use test strips to assess the existing chlorine level in your spa. Ensure your spa's pumps are running to facilitate even distribution. Refer to the guidelines on the Sani-Chlor bottle to calculate the necessary amount. Slowly introduce the measured Sani-Chlor directly to the water. Run your spa jets for about 15-20 minutes to circulate Sani-Chlor effectively. Use test strips again to confirm the chlorine level is within the 1-3 ppm range. FAQ: Q1: How frequently should I add Sani-Chlor? A: Generally, you should check and adjust chlorine levels twice a week or after heavy use. Q2: Is it okay to use Sani-Chlor with other spa chemicals? A: Yes, but always follow the guidelines and never mix chemicals directly with each other. Q3: Is Sani-Chlor safe for all spa types? A: It is compatible with most spa types, but you should always consult your spa’s manual for specific advice. Q4: What if I add too much Sani-Chlor? A: High chlorine levels can be uncomfortable and may require you to add a chlorine neutralizer. Q5: Can Sani-Chlor replace regular cleaning? A: No, it is a sanitizer and should be used in conjunction with regular cleaning and maintenance. Your path to a clean and delightful spa experience just became a whole lot simpler. For more information, don't hesitate to reach out to your local Great Escape team. Here’s to many more invigorating and safe spa sessions!
- How to Use Quick 5 Test Strips to Maximize Your Pool's Health
Ensuring your pool's water chemistry is balanced is crucial for maintaining a clean and safe swimming environment. Quick 5 Test Strips are an essential tool for monitoring your pool’s chemical levels, helping to detect issues before they become major problems. Follow these tips to use them effectively and keep your pool water in perfect condition. Key Takeaways: Learn how to handle test strips correctly to ensure accurate readings. Understand the correct method for using test strips to get reliable results. Discover the importance of regular water testing to prevent common pool issues. Step-by-Step Process: Avoid touching the test strips with wet fingers. Always close the cap tightly after removing each strip to maintain its effectiveness. Dip the test strip up to your elbow and keep it underwater for 2 seconds to sample the circulating water at the mid-level of your pool. Remove the strip with the pads facing up and compare the colors to the chart on the bottle. Wait 10-15 seconds to get the true reading of your water chemistry. Test your pool water at least twice a week. Regular testing helps prevent algae blooms, cloudy water, and corrosion of pool equipment. FAQs: Q1: How often should I use Quick 5 Test Strips? A: Test your pool water at least twice a week for optimal maintenance. Q2: Why is it important to keep wet fingers out of the test strip bottle? A: Moisture can contaminate the remaining strips, leading to inaccurate readings. Q3: What should I do if my test strip readings are off the chart? A: Adjust your pool chemicals accordingly and retest after allowing time for the water to circulate. Q4: Can I reuse a test strip? A: No, test strips are designed for single use only to ensure accuracy. Q5: Who can help if I’m unsure about my test strip results? A: Bring a water sample to The Great Escape for a complimentary test and consultation with our experts. Maintaining balanced water chemistry is essential for a healthy pool. By using Quick 5 Test Strips effectively and regularly, you can ensure your pool remains a safe and enjoyable place to swim. For any questions or additional support, The Great Escape team is here to help you every step of the way.
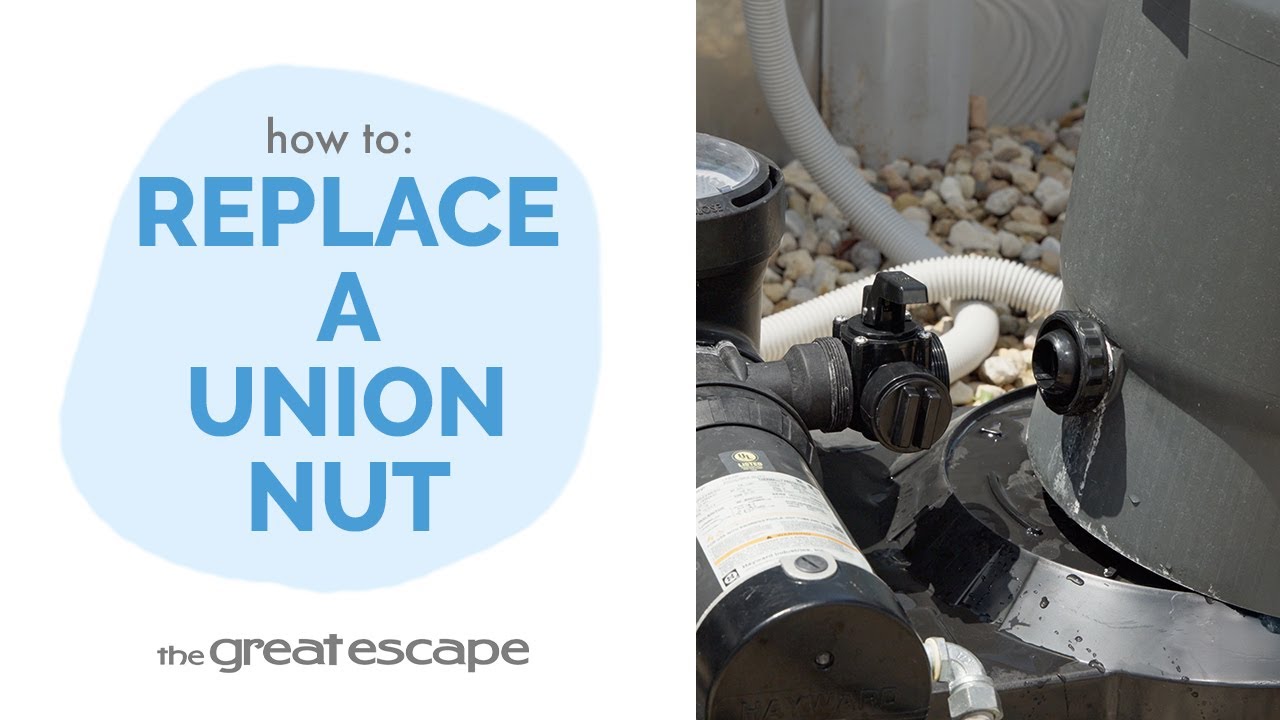
- How to Swap Your Hayward Union Nut
Need to replace a cracked or loose union nut on your Hayward cartridge filter? In this quick tutorial, we’ll walk you through the step-by-step process to replace the black union nut on your diverter valve—no stress, no leaks. Key Takeaways: Learn how to fully drain and depressurize your filter system safely. Discover how to use the seat removal tool for secure fitting removal. Understand how to properly align and tighten the new union nut for a leak-free seal. Step-by-Step Process: Turn off your pool system and stop water flow using shut-off valves or Hayward plugs. Open the air relief valve to release internal pressure. Loosen the black ring on the filter tank and remove the lid. Drain water from the bottom plug and pull the filter canister away from the pump. Remove the old fitting with a seat removal tool. Slide the new union nut into place behind the fitting and reinsert the fitting securely. Reconnect everything and tighten the new nut onto the pump fitting. Ensure all components are sealed and reassembled correctly. Resources and Explanations: Black Union Nut: Secures the connection between the diverter valve and pump. Seat Removal Tool: Essential for safely removing threaded fittings without damage. Hayward Plugs: Help stop water flow when shut-off valves are unavailable. Channel Locks: Used for extra torque during final tightening. FAQs: Q1: Why do I need to release pressure before opening the filter? A: Releasing pressure prevents sudden air or water bursts that can cause injury or mess. Q2: Can I reuse the old union nut? A: It’s not recommended—cracked or worn threads can lead to leaks. Q3: Do I need to use any sealant on the new union nut? A: No additional sealant is needed if the nut and fitting are properly installed and tightened. Need help? Your local Great Escape team is always happy to help! For more pool care tips and tutorials, hit that subscribe button and keep your pool running like new.
- The Essential Guide to Using a Threaded Black Cap
Threaded black caps are ingenious devices that provide a valuable means of controlling water flow during maintenance tasks in the absence of shut-off valves. Discover how to seamlessly use these caps during pump replacements, filter cleanings, and hose changes. Master the steps involved in using a black cap in both the skimmer and the return. Key Takeaways: Threaded black caps are ideal for controlling water flow during pool maintenance tasks, these caps can be used when changing a pump, cleaning a filter, or replacing a hose. We suggest the Hayward 1022 black cap, celebrated for its superior quality and reliability. Threaded black caps play a crucial role in preventing water loss in both the skimmer and the return when used correctly. Step-by-Step Process: For Skimmer Usage: First, remove all attachments such as the vac plate or basket. Then, identify the threaded hole at the bottom of the skimmer. Insert the black cap into this hole and turn it until secure to prevent water loss during maintenance tasks. For Return Usage: This process is more complex as it requires the removal of three parts - the ring, the eyeball, and the insert to which they're attached. While the ring and eyeball are easy to remove, the insert may need a wrench or a special key. Once these parts are out, thread the black cap in, and you're ready to go! FAQs: Q1: What is a threaded black cap used for? A: A threaded black cap is used to control water flow during various pool maintenance activities, like pump replacement, filter cleaning, or hose changing. Q2: What black cap brand do you recommend? A: We recommend the Hayward 1022 black cap for its quality and dependability. Q3: How do I use a black cap in the skimmer? A: Remove all attachments from the skimmer, locate the threaded hole at the bottom, and secure the black cap into this hole. Q4: How do I use a black cap in the return? A: Remove three parts - the ring, the eyeball, and the insert, from the return. Then, thread the black cap into the hole. Q5: Who do I contact if I have questions about pool maintenance? A: For any queries about pool maintenance, you can contact your nearest Great Escape team.