Search this site
121 results found with an empty search
- Filter Refresh: How to Replace Your Pool's Cartridge Filter
Dive into the world of pool maintenance with our comprehensive guide on replacing your pool's cartridge filter. Essential for trapping debris and ensuring clean water, the cartridge filter's efficiency may decrease over time due to clogged folds. This tutorial will walk you through the process of replacing an old cartridge to maintain optimal water flow and clarity. Key Takeaways: Recognize when it's time to replace your cartridge filter based on the condition of the folds. Ensure a smooth replacement process by halting water flow using shut off valves or alternatives like a Hayward 1022 black cap. Learn the correct way to install a new cartridge, focusing on alignment and securing the filter top. Step-by-Step Process: Use shut off valves or alternative methods to stop water from entering the filter. Unscrew the cap at the filter's base to release trapped water, avoiding spills. Access the cartridge by unlocking and lifting the top of the filter. Remove the old cartridge and insert the new one, ensuring it's correctly positioned and centered within the housing. Align and secure the top back onto the filter housing, finalizing the cartridge replacement. Resources: Cartridge Filter: The core component of your pool's filtration system, responsible for clean, debris-free water. Hayward 1022 Black Cap: A handy tool for stopping water flow when shut off valves are not available. FAQs: Q1: How do I know if my cartridge needs replacing? A: Visible wear, damage, or reduced water flow are key indicators. Q2: Can I clean the cartridge instead of replacing it? A: Regular cleaning is recommended, but replacement is necessary when damaged or excessively worn. Q3: What should I do with the old cartridge? A: Dispose of it according to local regulations, often with regular trash if not recyclable. Q4: How often should I check my cartridge filter? A: Inspect monthly for cleanliness and annually for potential replacement needs. Q5: Who can assist if I encounter issues during replacement? A: The Great Escape team is always available to provide support and answer any questions. For more tips or assistance, don't hesitate to contact your local Great Escape team. We're always happy to help!
- Seal the Deal: Replacing Your Pool Cartridge Filter's O-Ring
Dive into essential pool maintenance with our detailed tutorial on replacing the O-ring in your cartridge filter. This vital component ensures an air-tight seal for optimal filter performance. Armed with a flathead screwdriver and the recommended Jack’s Formula Multilube, we'll guide you through each step to ensure your filter continues to function efficiently. Key Takeaways: Understand how a properly sealed O-ring is crucial for your filter's effectiveness and the necessity of timely replacements. Gather the right tools and halt water flow using shut off valves or alternative methods to ensure a smooth replacement process. See why Jack’s Formula Multilube is the preferred choice for maintaining your pool equipment's longevity and reliability. Step-by-Step Process: Use shut off valves or a Hayward 1022 black cap to stop water from entering the filter. Unscrew the cap at the filter's base to release trapped water, preventing spills. Unlock the top from the bottom by pressing tabs under the handles and rotating the black ring. Remove the old O-ring, apply Jack’s Formula Multilube to the new one for a better seal, and place it in the groove on the lid. Align and secure the top and bottom halves of the filter, ensuring the O-ring is set correctly. Resources: Jack’s Formula Multilube: A reliable lubricant that enhances the seal and protects O-rings from wear. Hayward 1022 Black Cap: An alternative to halt water flow when shut off valves are not present. Replacement O-Ring: Use to maintain a tight seal in your cartridge filter. FAQs: Q1: How often should O-rings be replaced? A: Regular inspections will dictate the frequency, but typically every few seasons or at signs of wear. Q2: Can I use any lubricant on the O-ring? A: We recommend Jack’s Formula Multilube for its compatibility and effectiveness with pool equipment. Q3: What signs indicate a need for O-ring replacement? A: Leaks, difficulty securing the filter top, or visible wear and tear are common indicators. Q4: Is it difficult to replace an O-ring? A: With the right tools and guidance, it’s a straightforward process that homeowners can do. Q5: Who can I contact if I encounter problems during replacement? A: Your local Great Escape team is always ready to assist with advice and support. Ensuring your pool's filter operates at peak efficiency is key to a crystal-clear swimming experience. With this guide to replacing your filter's O-ring, you're well-equipped to maintain your pool's health. For further assistance or questions, the knowledgeable team at The Great Escape is always here to help!
- A Guide to Lubricating Pump O-Ring
Learn the importance of O-rings in your pool equipment and how to properly care for them. O-rings sit inside many pool components, playing a critical role in maintaining air-tight seals. When damaged over time, air leaks can develop, leading to various mechanical problems. We’ll guide you through a straightforward process to prevent O-ring damage. Key Takeaways: Use non-petroleum-based lubricants like Jack’s Formula Multilube for effective protection. Apply a thin, even layer of lubricant to the O-ring for the best results. Keeping your O-rings lubricated helps prevent costly mechanical issues down the line. Step-by-Step Process: We strongly recommend Jack’s Formula Multilube for its excellent protective qualities against rust, corrosion, water pressure, salt, and harsh pool chemicals. Avoid using Vaseline and similar products; they cause O-rings to expand, leading to seal leaks and a shortened O-ring lifespan. Gently apply an even layer of Jack’s Formula across the entire edge of the O-ring using your thumb and index finger. Less is more! Applying too much gel can result in a messy, ineffective seal. With the O-ring properly lubricated, it’s now prepped and ready to be placed back into its respective component. FAQs: Q1: Why shouldn't I use Vaseline on O-rings? A: Vaseline is petroleum-based and causes O-rings to expand, leading to leaks and a shorter lifespan for the ring. Q2: How often should I lubricate the O-rings? A: This varies, but a general recommendation is to lubricate the O-rings whenever you notice them becoming dry or every time you open the pool equipment for maintenance. Q3: Can I use any non-petroleum-based lubricant? A: While many non-petroleum-based lubricants may work, we highly recommend Jack’s Formula Multilube due to its proven effectiveness in protecting against various potential damages. Q4: Where can I buy Jack’s Formula Multilube? A: Check with your local pool supply store, or consult your Great Escape team for guidance. Q5: What if my O-ring is already damaged? A: If the O-ring is cracked, broken, or excessively worn, it's best to replace it with a new one to ensure a proper seal. If you're not sure or have any questions, don't hesitate to reach out to your local Great Escape team. We're always happy to help!
- Clearing the Air: How to Use Your Pool Filter's Bleeder Valve
Dive into essential pool maintenance with our latest tutorial, focusing on efficiently removing excess air from your pool's circulation system. After routine cleaning tasks, air can get trapped, hindering water flow and pressure. This video demonstrates the simple yet crucial process of utilizing the bleeder valve on your filter to restore optimal operation. Key Takeaways: Recognize how cleaning the pump basket, filter, or vacuuming can introduce air into the system, impacting circulation and pressure. Learn to use the bleeder valve, an essential tool designed to release trapped air and ensure your pool's filtration system runs smoothly. Emphasize the importance of caution during this process, especially around children and pets, and how to verify successful air removal. Step-by-Step Process: Locate the Bleeder Valve: Find the orange lever at the top of your cartridge filter, known as the bleeder valve. Turn the lever slowly until a hissing sound indicates air escaping. Wait for water to emerge, signifying the air has been fully expelled. Feel the pressure at the pool's return; a strong push indicates a successful air purge. FAQs: Q1: What is a bleeder valve? A: A device on your filter designed to release excess air, ensuring efficient water circulation. Q2: How do I know when to stop turning the bleeder valve? A: Once water consistently flows out, indicating all air has been expelled. Q3: Is it normal for water to shoot out of the valve? A: Yes, depending on air pressure. Always use caution during this step. Q4: What if I don’t feel a strong push at the return after bleeding the air? A: Repeat the process to ensure all air is removed or consult with The Great Escape for assistance. Q5: Can performing this task regularly damage the valve? A: No, using the bleeder valve is a recommended maintenance step and should not damage the valve if handled properly. Efficient pool maintenance is key to endless summer fun. With this guide to using your pool's bleeder valve, you're equipped to keep your water circulating beautifully. If you need assistance, reach out to your local Great Escape team. We're always happy to help!
- Seal the Deal: Fixing Leaks with a Simple O-Ring Swap on a Nature 2 Chlorine Side
A secure, leak-free seal is key to keeping your Pro Vision system running smoothly. In this tutorial, we’ll walk you through how to replace the O-ring on the chlorine side of your system—an easy maintenance task that helps prevent leaks and ensures peak performance. Key Takeaways: Properly sealing your Pro Vision system prevents costly water loss and damage. Aligning the cap and receiver correctly is critical for a proper fit. Replacing the O-ring is a quick, affordable step that keeps your system working efficiently. Step-by-Step Process: Turn off the pump and, if available, close the shutoff valves on either side of the system to prevent water loss. Turn the large collar counterclockwise to remove it, then take out and discard the old O-ring. Seat the new O-ring in the groove on top of the unit, making sure it’s positioned evenly. Align the V-Pack receiver’s two holes front to back. Match the oval cutout on the cap’s black portion with the front of the V-Pack receiver, and the left cutout with the notch on the left side of the receiver. Insert the cap, push down, and tighten by turning clockwise until secure. Resources and Explanations: O-Ring: Creates a watertight seal, preventing leaks in your Pro Vision system. V-Pack Receiver Alignment: Ensures correct fit for both sealing and proper water flow. Shutoff Valves: Optional, but useful for preventing water loss during maintenance. Large Collar: Secures the cap to the system and holds the O-ring in place. FAQs: Q1. How often should I replace the O-ring? A: Generally, replace it once a year or when you see wear, cracks, or flattening. Q2: What happens if my O-ring is damaged? A: Leaks can occur, leading to water loss and decreased system efficiency. Q3: Do I need special tools for this replacement? A: No, you can complete the process by hand. At The Great Escape, we’re committed to helping you protect your home leisure investments. Need more help? Contact your local Great Escape store—our experts are always ready to assist!
- Power Up Your Pool: Swapping Out the Pro Vision V-Pack
In this short tutorial, we walk you through replacing the V-Pack in your Pro Vision water system—one of the easiest ways to keep your filtration setup running smoothly. Learn the correct orientation, tips for seal alignment, and how to prevent water loss during installation. Key Takeaways: Shut off your pump and close valves to avoid unnecessary water loss. The black seal on the V-Pack must face upward when inserted. Always double-check the O-ring is properly seated before retightening the collar. Step-by-Step Process: Turn off your pump. If equipped, close the shut-off valves on either side of the system. Twist the large collar counterclockwise and remove it. Remove the used V-Pack and dispose of it properly. Insert the new V-Pack with the black seal facing upward. Retighten the collar clockwise and ensure the O-ring is securely seated. Resources and Explanations V-Pack: The core filtration element in your Pro Vision unit; designed for easy replacement. Shut-Off Valves: These help prevent water loss and simplify maintenance. O-Ring: Crucial for creating a watertight seal; always check placement before reassembly. Collar Ring: The hand-tightened fitting that locks the V-Pack in place. FAQs: Q1: How often should I replace the V-Pack? A: Typically once per pool season or as needed based on system performance and your Nature2 chlorine setting. Q2: Can I reuse an old V-Pack? A: No, V-Packs are disposable and designed for one-time use to maintain proper sanitation. Q3: What happens if I install the V-Pack upside down? A: The unit may not seal correctly, leading to leaks or poor filtration performance. If you need personalized help, visit your local Great Escape store. We’re always happy to help you get the most out of your backyard investment.
- Seal the Deal: Swapping Your Nature 2 Cartridge O-Ring Like a Pro
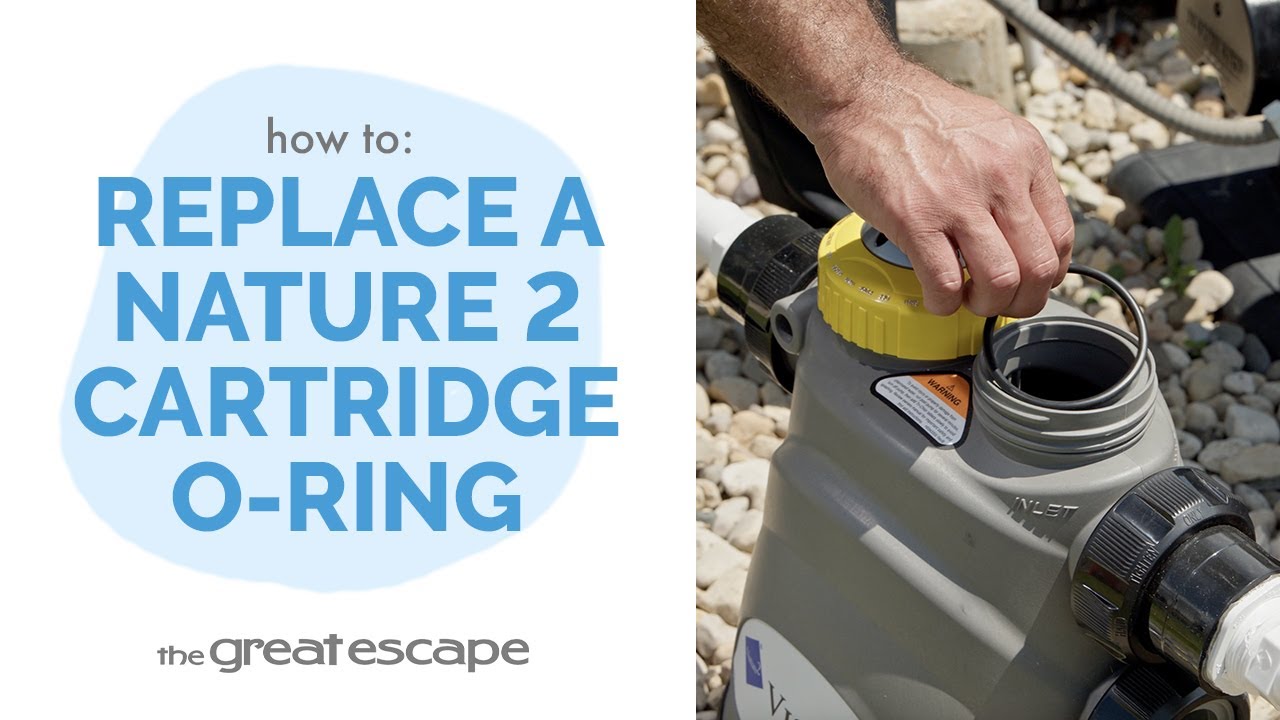
A worn or misaligned O-ring can lead to leaks and reduce your system’s efficiency. In this video, The Great Escape team walks you through how to replace the O-ring on the Nature 2 cartridge side of your Pro Vision pool system in just a few easy steps. Key Takeaways: Always shut off the pump before performing maintenance. A properly seated O-ring is key to preventing leaks. This simple fix helps extend the life of your system. Step-by-Step Process: Turn off the pump and, if applicable, close the shutoff valves on either side of the unit. Twist the small collar counterclockwise and remove it. Remove the old O-ring and discard it. Insert the new O-ring into the groove on top of the unit, ensuring it's properly seated. Re-tighten the collar by turning clockwise until snug. Resources and Explanations: Nature 2 Cartridge Side – Houses the mineral cartridge and requires a tight seal. Small Collar – Secures the cap in place and must be fully tightened. O-Ring – Prevents leaks and keeps the unit sealed under pressure. Shutoff Valves – Optional, but help reduce water loss during maintenance. FAQs: Q1: How often should I replace the O-ring? A: Typically once per season or if you notice any signs of wear or leaks. Q2: Can I reuse the old O-ring? A: It's not recommended. A fresh O-ring ensures the best seal and long-term performance. Q3: Is it safe to do this without closing the shutoff valves? A: It’s best to close them if available to prevent water loss and make the process easier. At The Great Escape, we believe every home leisure product is an investment in fun, relaxation, and wellness. Our in-store experts are here to help you protect that investment and enjoy your backyard to the fullest!
- Out with the Old, In with the Clean: Nature 2 Cartridge Swap
A fresh Nature 2 mineral cartridge keeps your pool water clean and sparkling. In this quick tutorial, The Great Escape team walks you through the simple process of replacing your cartridge to maintain peak performance in your Pro Vision system. Key Takeaways: Always shut off the pump before beginning maintenance. Ensure the O-ring is properly seated for a watertight seal. Regular cartridge replacement keeps water fresh and your system running efficiently. Step-by-Step Process: Turn off your pump and, if available, close the valves on either side of the Pro Vision unit to prevent water loss. Turn the small collar counterclockwise and remove it. Remove the old Nature 2 mineral cartridge and discard it. Insert the new cartridge into place. Check that the O-ring is seated correctly in the groove for a proper seal. Tighten the collar by turning clockwise until secure. Resources and Explanations: Nature 2 Mineral Cartridge – Helps maintain cleaner water with less chlorine use. O-Ring – Creates a watertight seal to prevent leaks. Pro Vision Unit – The housing that integrates your Nature 2 cartridge into your pool system. Small Collar – Secures the cartridge in place inside the unit. FAQs: Q1: How often should I replace my Nature 2 mineral cartridge? A: Typically, once per pool season or every six months for year-round pools. Q2: What happens if the O-ring isn’t seated correctly? A: You may experience leaks or reduced system efficiency. Q3: Can I replace the cartridge without shutting off the pump? A: No, always turn off the pump to prevent water loss and ensure safe handling. At The Great Escape, we’re here to help you get the most out of your pool investment. From quick maintenance tips to expert advice, our team is dedicated to keeping your pool in top shape for years of enjoyment.
- Fit to Flow: Installing Fittings on Your Pro Vision System
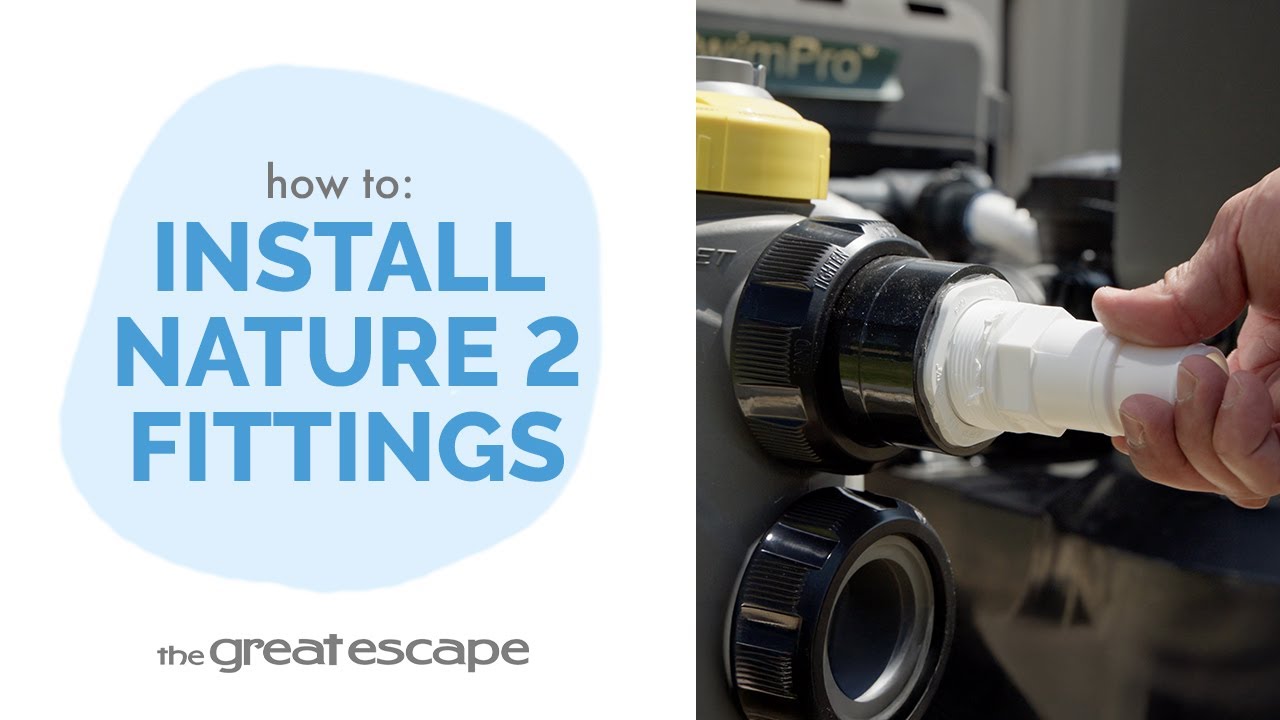
In this quick how-to video, we’ll show you the simple steps to install fittings on your Pro Vision or Nature2 chlorinator. Whether you’re setting up your system for the first time or replacing parts, this guide ensures a tight, leak-free connection every time. Key Takeaways: Always apply Teflon tape in the correct direction for a secure seal. Proper thread alignment prevents leaks and equipment damage. Hand-tightening the fittings clockwise is typically sufficient when properly sealed. Step-by-Step Process: Begin by applying Teflon tape to the threads, wrapping counterclockwise with the threads facing away from you. Insert the fittings into the inlet and outlet openings. Turn the fittings clockwise until tight. Inspect for proper seal and alignment. Resources and Explanations: Teflon Tape – Creates a watertight seal between fittings. Pro Vision/Nature2 Chlorinator – A common mineral sanitizer system for pools. Hand-tight Method – In most cases, you won’t need tools; overtightening can damage threads. Visual Guide – Watch the video for correct taping direction and thread orientation. FAQs: Q1: Do I need tools to tighten the fittings? A: Usually no—hand-tightening with Teflon tape is enough for a good seal. Q2: What happens if I wrap the tape the wrong way? A: The tape can unravel during tightening, which could cause leaks. Q3: How much Teflon tape should I use? A: 2–3 wraps is typically sufficient to ensure a secure seal. Need help with more pool care essentials? Contact your local Great Escape pool expert—we’re always happy to help you get the most out of your pool!
- Chlorine Control Made Easy: Adjusting Output on the Pro Vision System
Keeping your pool sparkling clean starts with balanced chlorine levels. In this quick tutorial, we’ll show you how to adjust the chlorine output on the chlorine side of your Pro Vision system so your water stays clear, safe, and swim-ready. Key Takeaways: The chlorine output handle ranges from 1 (lowest) to 6 (highest). Start low and adjust gradually based on pool size and usage. Always monitor chlorine levels after making changes. Step-by-Step Process: Locate the chlorine side of your Pro Vision system. Grip the adjustment handle and turn it to your desired setting (1–6). Monitor chlorine levels and tweak the setting as needed based on pool conditions. Resources and Explanations: Pro Vision Chlorine Side – The section of your system that controls chlorine flow. Adjustment Handle – Allows easy control of chlorine output. Settings 1–6 – Choose the level that matches your pool’s size, swimmer load, and climate. FAQs: Q1: What setting should I start with on the chlorine dial? A: Start with a lower setting like 2 or 3, then adjust based on test results. Q2: How often should I check my chlorine levels? A: At least once a week, or more often during heavy pool use or high temperatures. Q3: Can I turn the handle while the pump is running? A: Yes, it’s safe to adjust the dial while the pump is on. At The Great Escape, we believe owning a pool should be as relaxing as swimming in one. That’s why we’re here to help you get the most out of your equipment with easy-to-follow tutorials and friendly in-store support—so you can focus on fun.
- Connect Your Nature 2 Unit: A Step-by-Step Guide
Discover the step-by-step process of connecting your Nature 2 unit in the water circulation loop for efficient pool water sanitation. Learn about the necessary pieces, placement, hose connection, and expert advice on proper installation. Ensure optimal filtration and enjoy a clean and safe swimming experience. Let's dive in! Key Takeaways: The Nature 2 unit is the final component to connect in your water circulation loop. It sanitizes the filtered water before it is sent back into the pool through the return. Teflon tape, 2 fittings, hose clamps, 3' length hose (recommended). Position the Nature 2 unit next to your last piece of circulation equipment, such as the filter or pool water heater. Ensure a clear path from the unit to the return for efficient water flow. Step-by-Step Process: Make sure you have all the required pieces for connecting the Nature 2 unit, including Teflon tape, two fittings, clamps, and a 3 ft length hose (or recommended size). Position the Nature 2 unit next to your last circulation equipment (filter or pool water heater) on a stable base. Ensure there is a clear path from the unit to the return. Wrap the threads of the two fittings with Teflon tape to ensure a tight seal. Then, twist the fittings into the labeled "inlet" and "outlet" ports of the Nature 2 unit. Slide the hoses onto each of the fittings and secure them with clamps for a reliable connection. Attach the hose from the "inlet" port of the Nature 2 unit to your filter or pool water heater. Then, attach the hose from the "outlet" port to the return. Ensure all connections are secure and properly tightened. Your Nature 2 unit is now connected and ready to provide optimal pool water sanitation. Resources Mentioned: Teflon Tape: Teflon tape is used to wrap around the threads of fittings, ensuring a tight and leak-free seal. Fittings: The fittings are necessary components to connect the hoses to the Nature 2 unit's "inlet" and "outlet" ports securely. Shut Off Valves: Allow you to stop the flow of water from your pool while performing maintenance tasks with your filtration system. Clamps: Used to secure the hoses onto the fittings, providing a reliable connection. Hose: A 3' length hose (or recommended size) is utilized to connect the Nature 2 unit to the filtration system and return. FAQs: Q1: Can I use a hose of a different length? A: While a 3 ft length hose is recommended, you can use a hose of a different length as long as it allows for proper connection and efficient water flow. Q2: Is Teflon tape necessary for the fittings? A: Yes, wrapping the threads of the fittings with Teflon tape ensures a tight seal and prevents leaks, guaranteeing a secure connection. Q3: Can I connect the Nature 2 unit to any circulation equipment? A: The Nature 2 unit can be connected to various circulation equipment, such as filters or pool water heaters. Ensure a clear path from the unit to the return for optimal water flow. Q4: How do I ensure a secure hose connection? A: Slide the hoses onto the fittings and use clamps to secure them tightly. This ensures a reliable connection and prevents hoses from coming loose during water circulation. If you encounter any difficulties or have questions about connecting your Nature 2 unit, don't hesitate to reach out to your nearest Great Escape team. We're always happy to help!
- The Ultimate Guide to the Nature 2 System
Welcome to the ultimate guide on the Nature 2 System, the essential sanitation hub for your water circulation system.This video provides crucial insights for maintaining clean and natural pool water. Key Takeaways: The Nature 2 Unit consists of two chambers—one for chlorine tablets and the other for the Pro Vision sanitizer cartridge. Together, they provide effective sanitation and water clarification. The chlorine chamber contains specially formulated chlorine tablets, housed in a protective blue sleeve called a V-Pack. With the Nature 2 System chambers properly connected to your water circulation system, the Nature 2 system ensures continuous sanitation and water quality. Step-by-Step Process: Open the chlorine chamber by turning the lid counterclockwise. Insert the blue chlorine V-Pack into the chamber, ensuring the black seal is at the top. Secure the lid by twisting it clockwise. Begin with the chlorine control dial on setting 3, then adjust according to pool use and weather conditions. Regularly monitor the V-Pack levels, particularly after any adjustments. Open the sanitizer chamber lid by rotating it counterclockwise. Position the Pro Vision sanitizer cartridge inside with the label facing upwards. Close the chamber by tightening the lid clockwise. With the chlorine and sanitizer chambers prepared, connect the Nature 2 System to your pool's water circulation system for ongoing water purification. Remember to check the system regularly for optimal performance and adjust the settings to match the swimming pool's usage and environmental factors. Resources Mentioned: V-Pack: The V-Pack is a protective blue sleeve containing specially formulated chlorine tablets. It ensures safe handling without direct contact with chlorine, providing effective sanitation. Pro Vision Cartridge: The Pro Vision Cartridge is a sanitizer cartridge that contains copper and silver minerals. It disinfects, clarifies, and enhances the natural qualities of the pool water, reducing the need for additional chlorine. Water Circulation System: This refers to the network of pipes, pump, filter, and other equipment that circulates and filters water throughout the pool, ensuring proper sanitation and clarity. FAQs: Q1: How long does a V-Pack last? A: On average, a V-Pack lasts approximately two weeks. However, it's important to regularly check its contents and replace it if necessary, especially when adjusting the chlorine dial setting. Q2: What is the purpose of the Pro Vision Cartridge? A: The Pro Vision Cartridge contains copper and silver minerals that disinfect and clarify the pool water, providing a more natural swimming experience and reducing the need for additional chlorine. Q3: How often should I replace the Pro Vision Cartridge? A: The Pro Vision Cartridge lasts for the entire summer season, providing long-lasting sanitation benefits. Replace it at the beginning of each swimming season or as needed. Q4: Can I adjust the chlorine dial setting? A: Yes, the chlorine dial has 6 settings. Start at 3 and adjust it as needed based on weather conditions, pool usage, and regular checking of the V-Pack's contents. Q5: Can I use the Nature 2 System with any water circulation system? A: Yes, the Nature 2 System can be easily connected to most water circulation systems, ensuring continuous sanitation and water quality. If you have any concerns or questions, reach out to your nearest Great Escape team for assistance. We're always happy to help!